
Good morning, Teresa here again with another easy easy pendant assembly tutorial.

I love buttons - I have thousands. Literally. And they are inexpensive to obtain. I wanted to incorporate some wonderful mother-of-pearl buttons and here is my lovely little pendant, which also make a great little ornament as well.
Let's shop
Aged Pink Enamel a wonderful mix of pale pink, gold, and white particles
Additional items
Mother of Pearl buttons (mine are vintage)
A jump ring
Now let's get started
NOTE: There is a great VIDEO here on the process of embossing these Piccolo Shapes.
Emboss both sides of the Circle Bezel with the Aged Pink Powder.
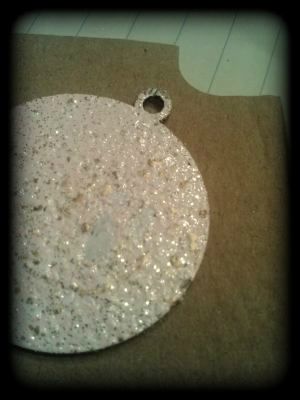
Look how pretty this is .... I can see a tiny little princess enjoying this sweet color.

Select buttons and decide on a pattern for adding them.
I am working on a scrap of cardboard. This allows me to move and handle the piece without disturbing my layouts and then move it into the UV source as well.

Honestly the next few steps are the most difficult for me - waiting for the glue to dry. Luckily the Glastique works to seal, protect, AND adhere. It also sets up quickly.
Add the bottom layer of buttons using the Glastique.
Dry.

Add the next layer to the stack.
See that "hole" in the center? I chose a shanked button for my center and needed the space there for the shank to fit into.
Glue the center button as well.

Now add your UV Resin. It comes in a squeeze bottle and is fairly thick so I had no trouble with the resin staying on the shape. Squeeze the Resin in and around each button.
Then cure. The resin will cure in direct sunlight. I do a LOT of my studio work at night, so I invested in a UV light.

After the resin is cured, add a layer of gloss Glastique to the back side of the pendant. This is a protective and strengthening layer.

I added this next picture to show you how the Glastique starts very "milky" in the liquid form. As it dries it becomes a clear, non-yellowing protective coat.

The UV Resin gives a wonderful smooth finish and make this a nicely dimensional pendant.

Once everything is nice and dry (I wait 24 or more), add your jump ring and you are ready to wear and collect compliments.

Simply beautiful -----
Please come back regularly - there are lots of new ideas presented here and the archives have wonderful techniques and design ideas as well.
Have a wonderful day.
1 comment:
What a wonderful vintage look for your pendant. I love the idea of using buttons.
Post a Comment